How to Plant a Water Lily in a Container to Brighten Up Your Pond
- Skill Level: Beginner
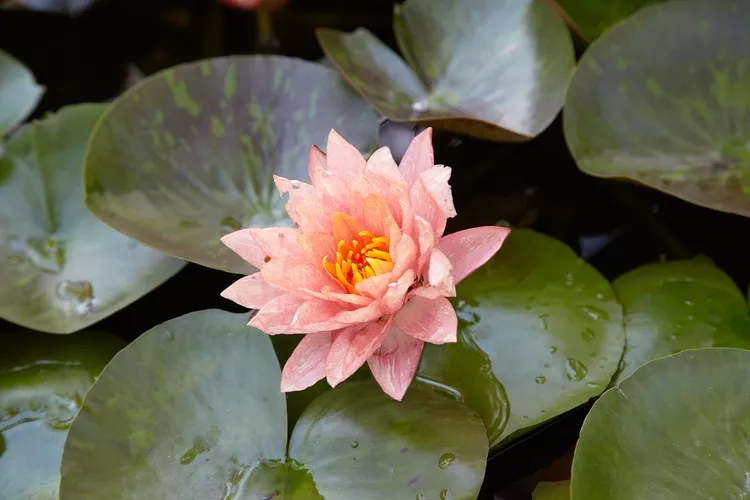
Even a small water feature can instantly make your yard look more magical, and a few water lily plants (Nymphaea spp.) floating on the surface can make a pond look downright dreamy. These aquatic plants grow from tubers planted under water, sending up stems with rounded leaves and colorful, star-shaped blossoms that float on the surface.
It's best to plant water lilies in containers, whether you have a natural or artificial pond, or even just a small water garden. A container prevents the plant from growing through the pond liner or from growing too large and taking over your pond. Any variety of water lily can be grown in a pot because these plants will only grow to be the size of the container they are in. Follow these simple steps to plant a water lily in a container to add to your water garden.
What You'll Need
Equipment / Tools
- 1 pair of pruning shears
Materials
- 1 wide, shallow container
- 1 large piece of burlap to fit container
- 1 bag garden soil
- 1 package aquatic fertilizer pellets
- 1 water lily tuber
- 1 bag pea gravel
Instructions
-
Select a Container
Use a wide and shallow container. A good size is 18 inches wide by at least 10 inches deep. The tuber, which is similar to the rhizome of an iris, grows horizontally. You can use a container with or without drainage holes. If there are drainage holes, line the pot with burlap to keep the soil in the container. Soil that leaches out can cloud the water in your pond.
-
Fill Container with Soil
Use a heavy bagged soil intended for use in the garden, not a fluffy potting soil that will float out of the container. Avoid soil mixes with peat, vermiculite, or perlite for the same reason. Enrich the soil with aquatic fertilizer pellets made especially for the task. Push them into the soil before you plant.
-
Clean Up Plants
Before planting water lily tubers in your container, remove old leaves and thick, fleshy old roots with pruning shears. Then, more of the plant's energy can go toward growing new roots, leaves, stems, and blooms. Leave only emerging leaves and buds and the newer, hairlike roots.
-
Plant Tubers
Plant the tuber against the side of the pot, with the growing tip pointing upward (at about a 45 degree angle) and toward the center of the pot. The cut end should be deeper in the pot and the growing end of the water lily tuber should stick out about an inch above the soil surface.
-
Add Gravel
Cover the soil with about a half-inch layer of pea gravel or other small pebbles to help hold the soil in the container. If you want the gravel to be less visible from above the water, use dark colored rocks.
-
Place Pot in the Water
The planted pot should be lowered into the pond at an angle to allow any trapped air to escape. Set the base of the pot 12 to 18 inches deep. The leaves will float to the surface. If the pond is deeper than 18 inches and doesn't have built-in planting ledges, support the pot with rocks to keep it at about that depth.